Reviving my Xbox 360 from error code 0033
Published 19 June 2026
There's something very satisfying about getting broken tech working again.
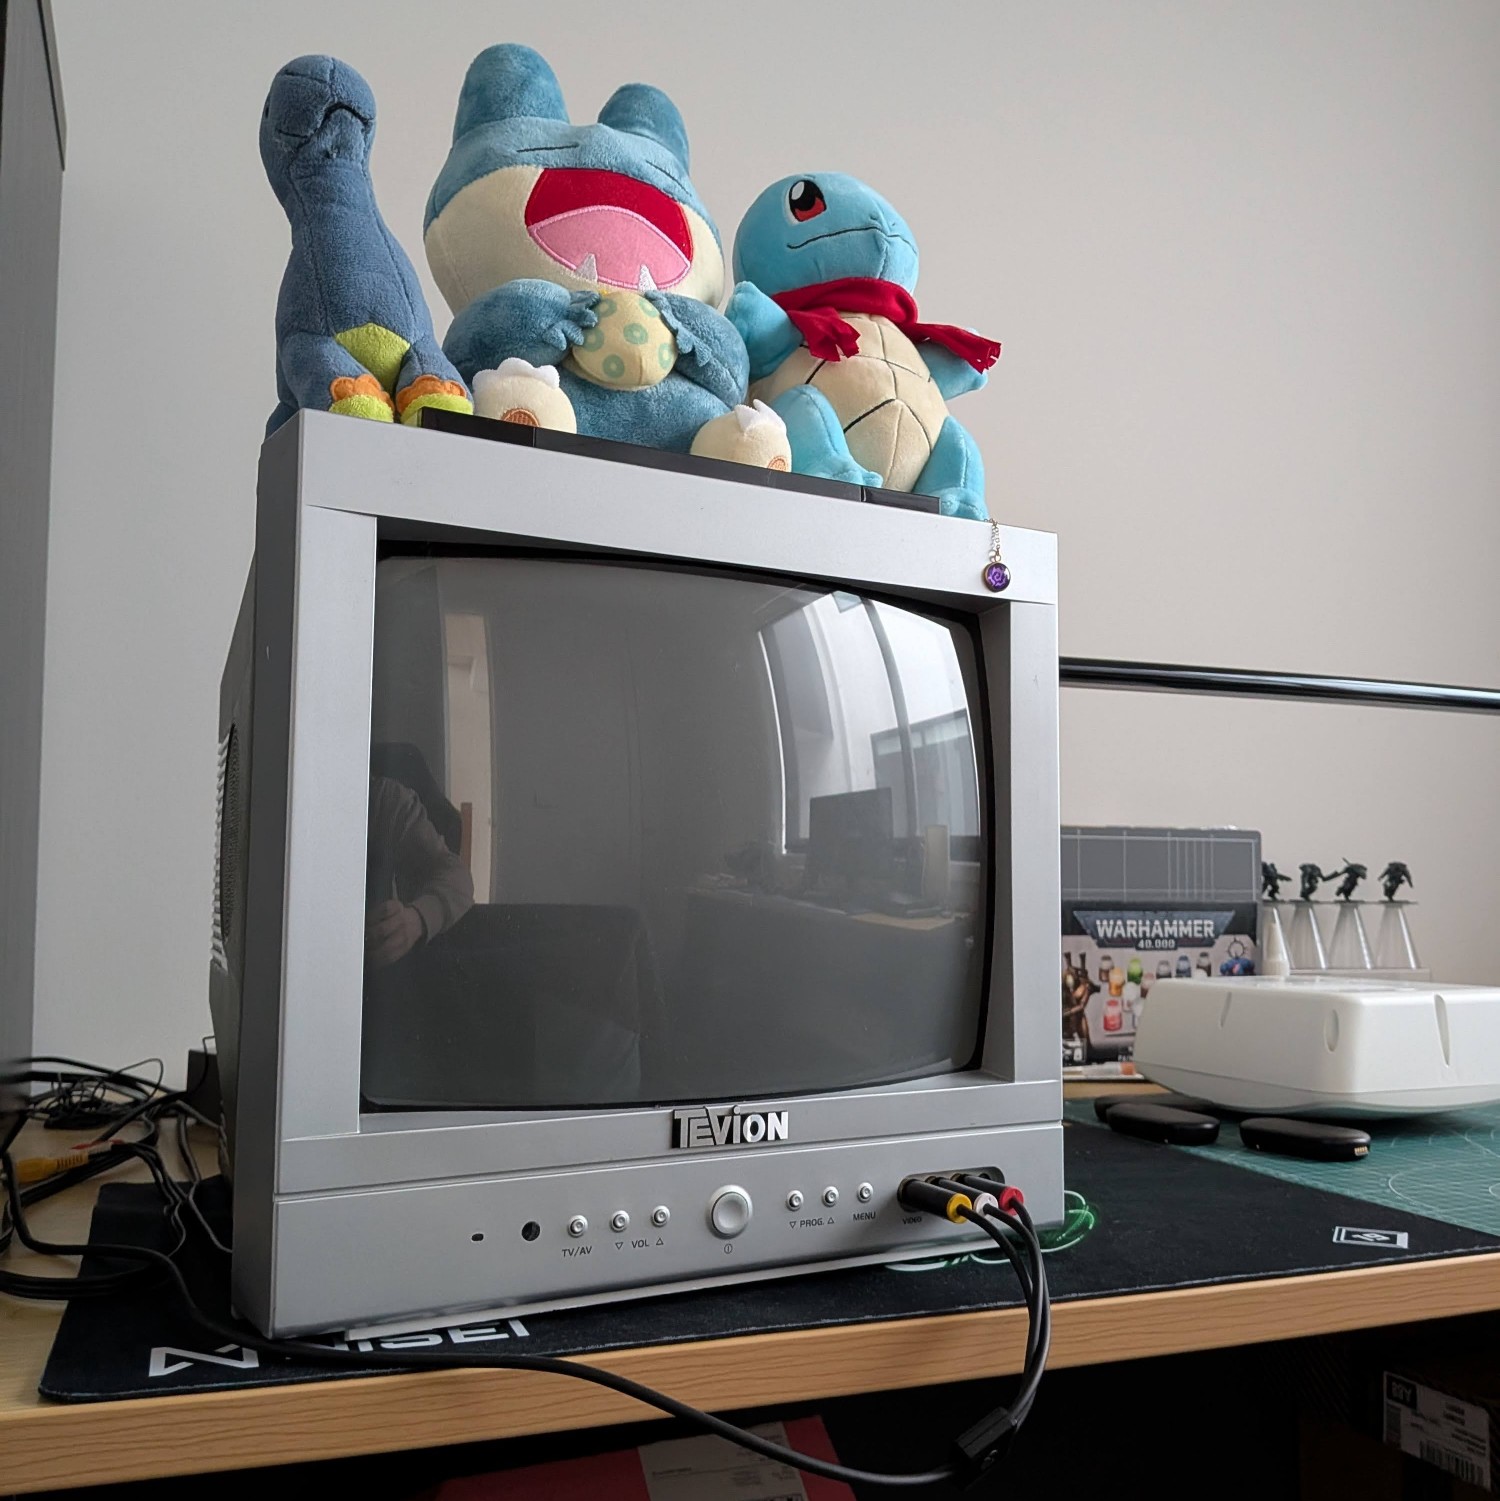
I've been on a bit of a retro kick this year: I added a PS2 to my console collection and even bought a nice little CRT TV so that I can experience these older games as accurately as possible. Eventually, I got a very specific nostalgia craving urging me to pull my old Xbox 360 out of storage and fire up a game from its era on the CRT. Specifically Fallout 3, a game I never played back in the day and which I thought would look nice in the CRT style.
However, when I set up my 360, I found that it no longer booted up. It would turn on very briefly, and then transition to displaying the dreaded red rings signifying a hardware issue. Since this was an E model - one of the newest 360 revisions released right at the end of its lifecycle before the Xbox One hit the market, which didn't suffer the many issues that plagued the 360's initial release - I hoped that the issue would be something minor and easily fixable. After all, I had taken good care of it while it was in active use, and it had only been sitting in a box thereafter.
diagnosing the issue
Like most older consoles, there is a good deal of information online from hobbyists documenting potential hardware faults and their fixes, such as this list of 360 error codes. Determining my error code as 0033, I was lead to this set of repair tips, which was... not particularly helpful. I'm not especially knowledgable about electronics beyond some very basic understanding of circuitry and soldering, so most of the information there went over my head, and didn't guide me towards any obvious fixes.
Further googling of my error code led me to a few interesting reddit posts, forum posts, and even a few youtube videos citing similar issues and possible repairs. It was a little hard to tell how accurate the information was, but they generally seemed to point to a specific capacitor on the motherboard turning faulty and requiring replacement. Annoyingly, most of them didn't make it abundantly clear of the exact requirements for the replacement capacitor, so I figured my next step should be opening my console up to lay eyes on it.
After buying a screwdriver set containing the Torx T8/T10 heads required for its screws, I set to work on cracking it open. There are plenty of videos showing how to do this, but it still took me quite a while to slowly work through it. I really wasn't prepared for how painstaking a process it is to get the plastic top/bottom covers off. In principle, it's a simple matter of separating the 3 plastic clips holding them together, but in practice they are really really tight and 2 out of 3 of them are not at all easy to reach. It takes quite a bit of force to get them to fully separate, and I even broke one of the clips in the end, but thankfully that didn't cause any issues with re-assembly - even just 2 clips holds very sturdy.
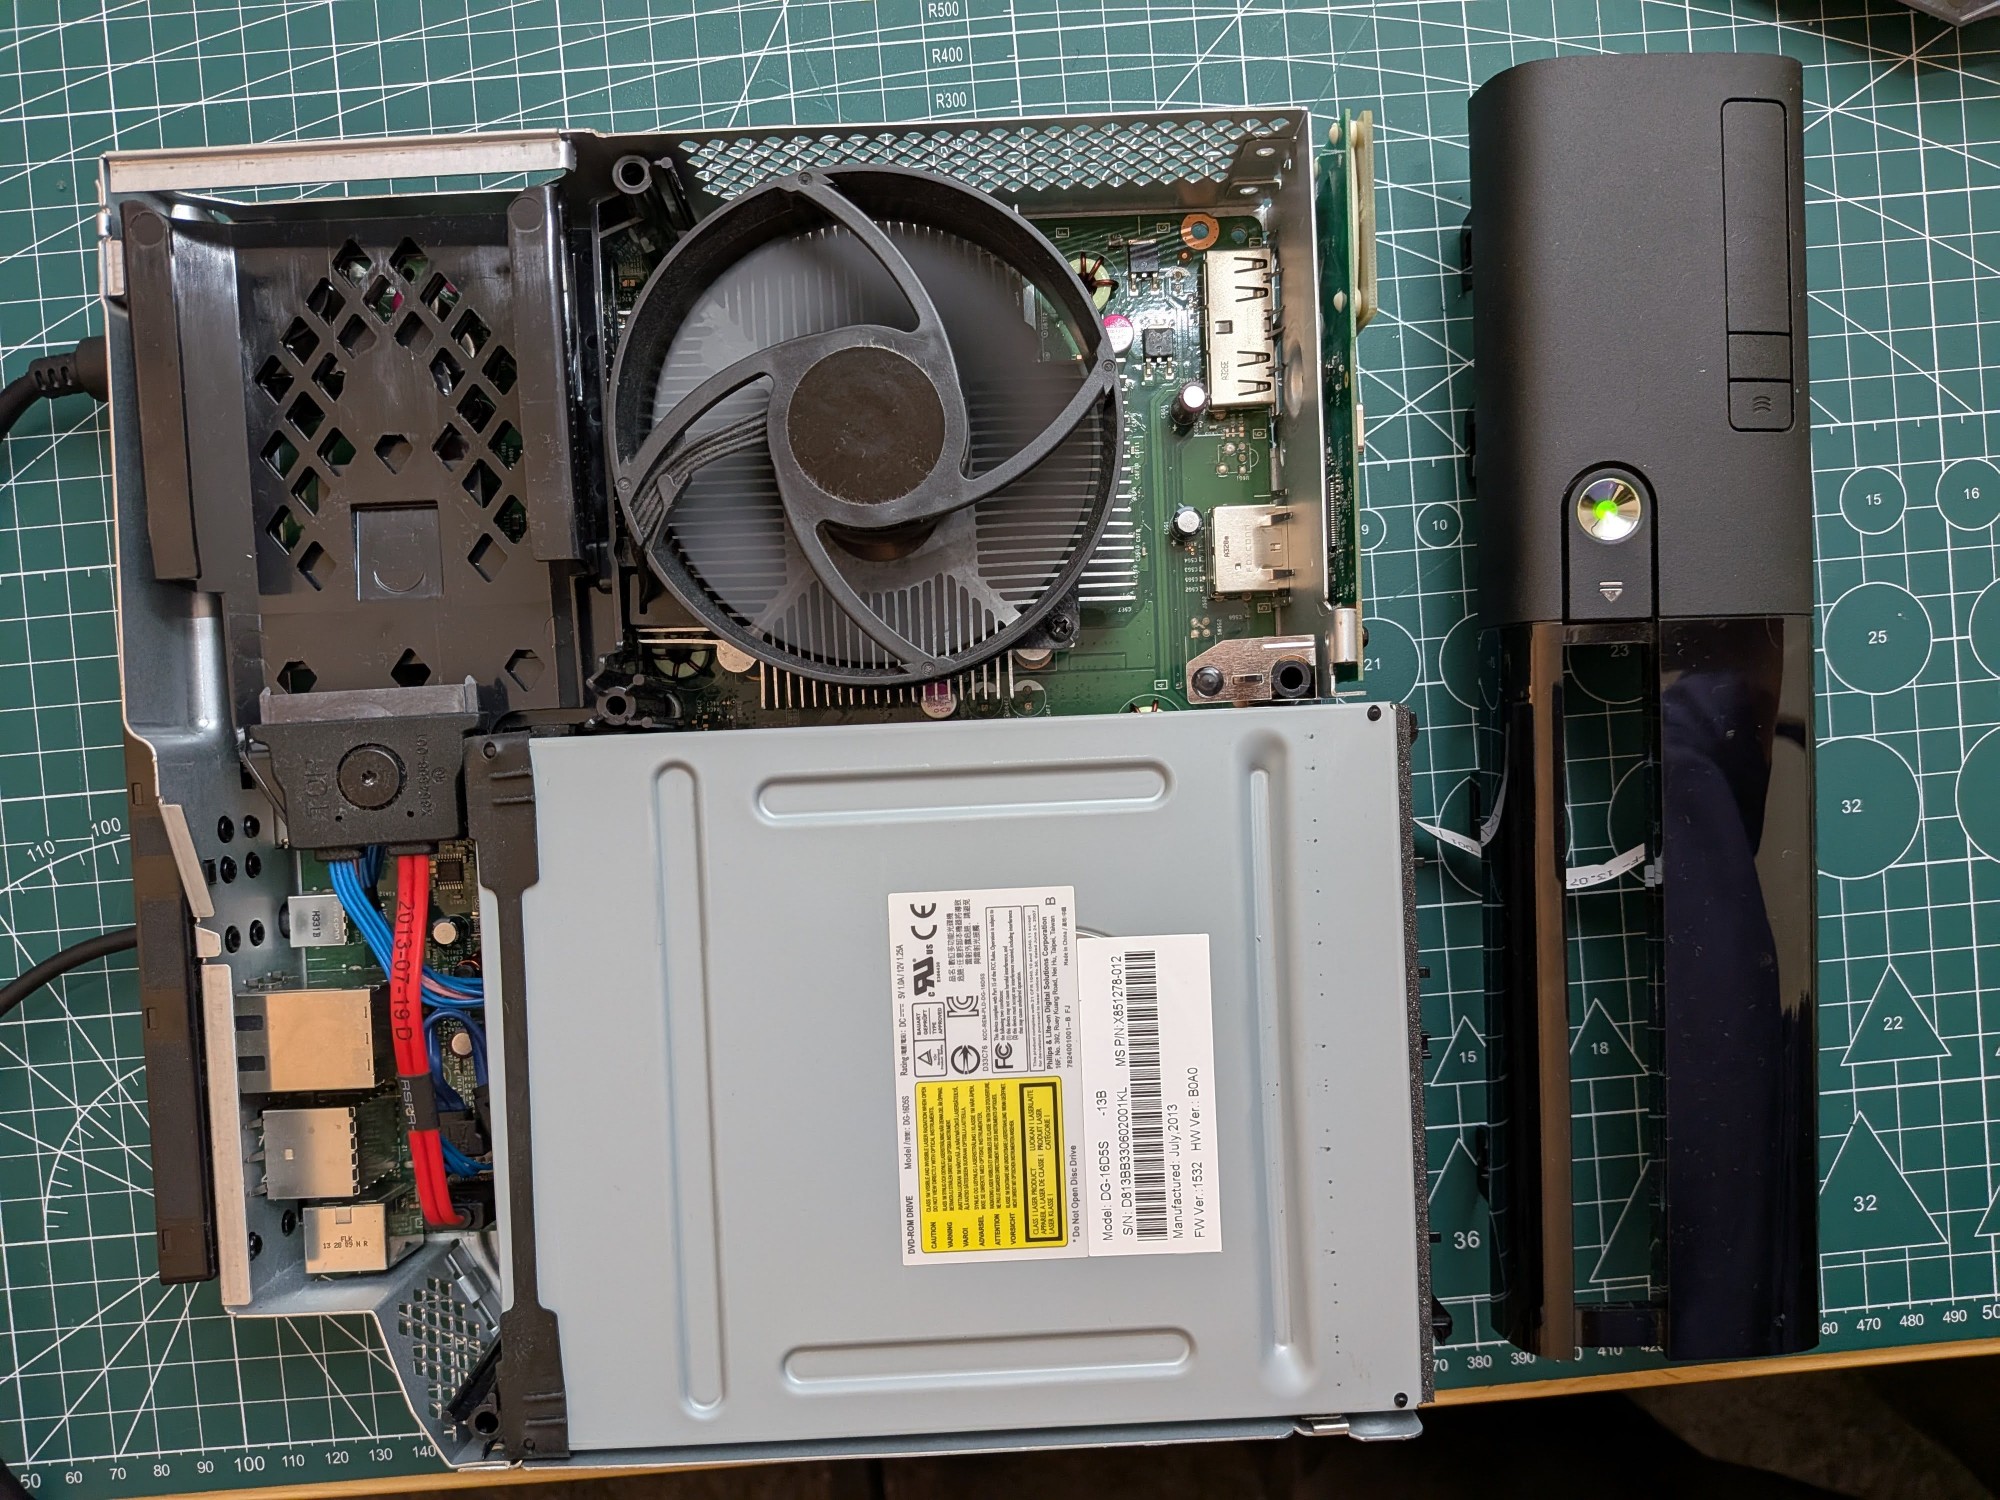
Once the shell was off, the rest of the disassembly wasn't so bad. Mostly just a matter of unscrewing various points and carefully removing the components from their placing. Some of the cables can be tedious to unseat but nowhere near as frustrating as the shell! With everything removed, I could finally get a good look at the motherboard and the capacitor in question.
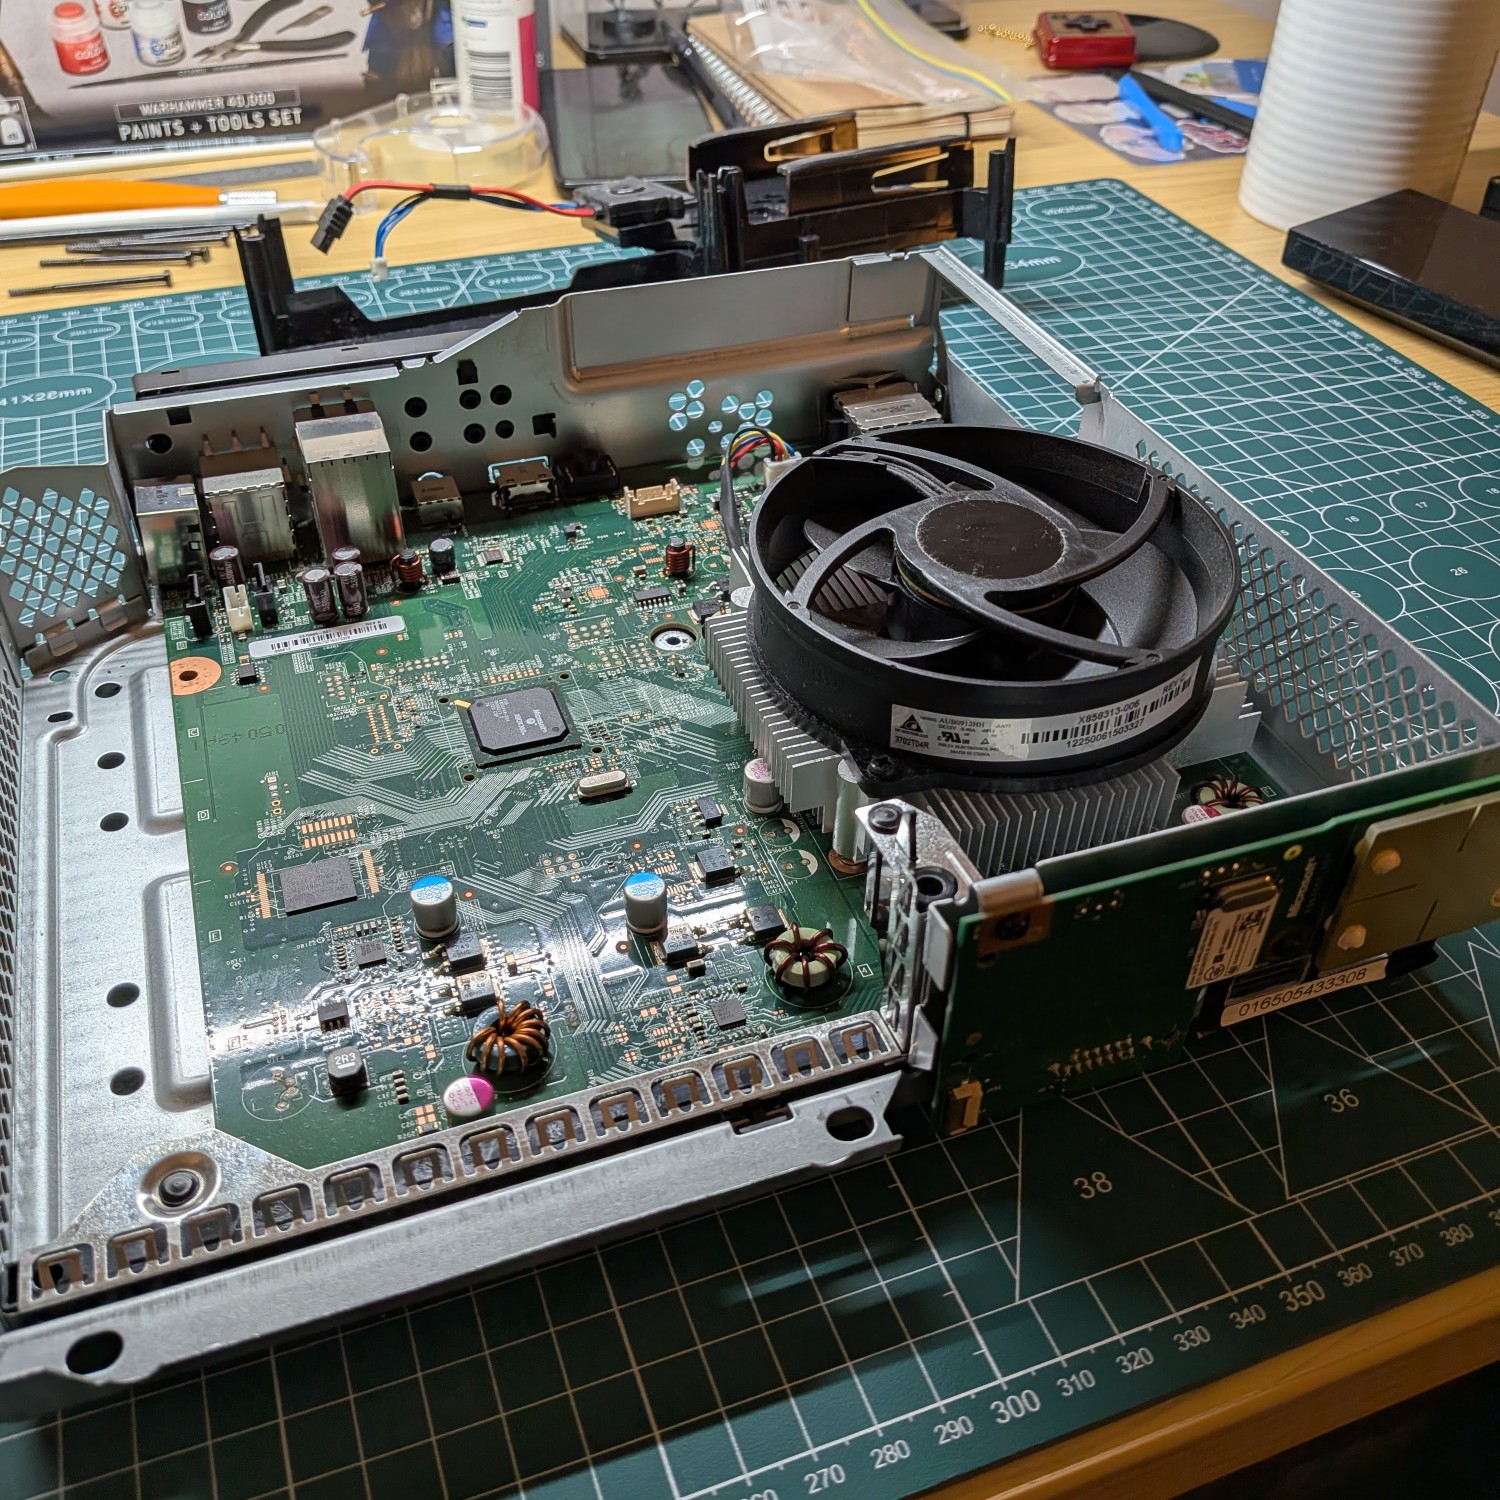
To my amateur eyes, the motherboard looked in good condition, if a bit dusty in spots. I cleaned a little bit of dust away and gave it a quick test, but unsurprisingly it didn't make much difference (thankfully, the console can be turned on by shorting two contact points on the motherboard, so it doesn't need to be re-assembled for testing!). The capacitor spoken of online looked OK too - if I had a multimeter, I could have tested it for issues, but in absence of that the best I could do is just place my trust in the internet that replacing it might help. At least now I could clearly see the specs on the capacitor to confirm what replacement I needed!
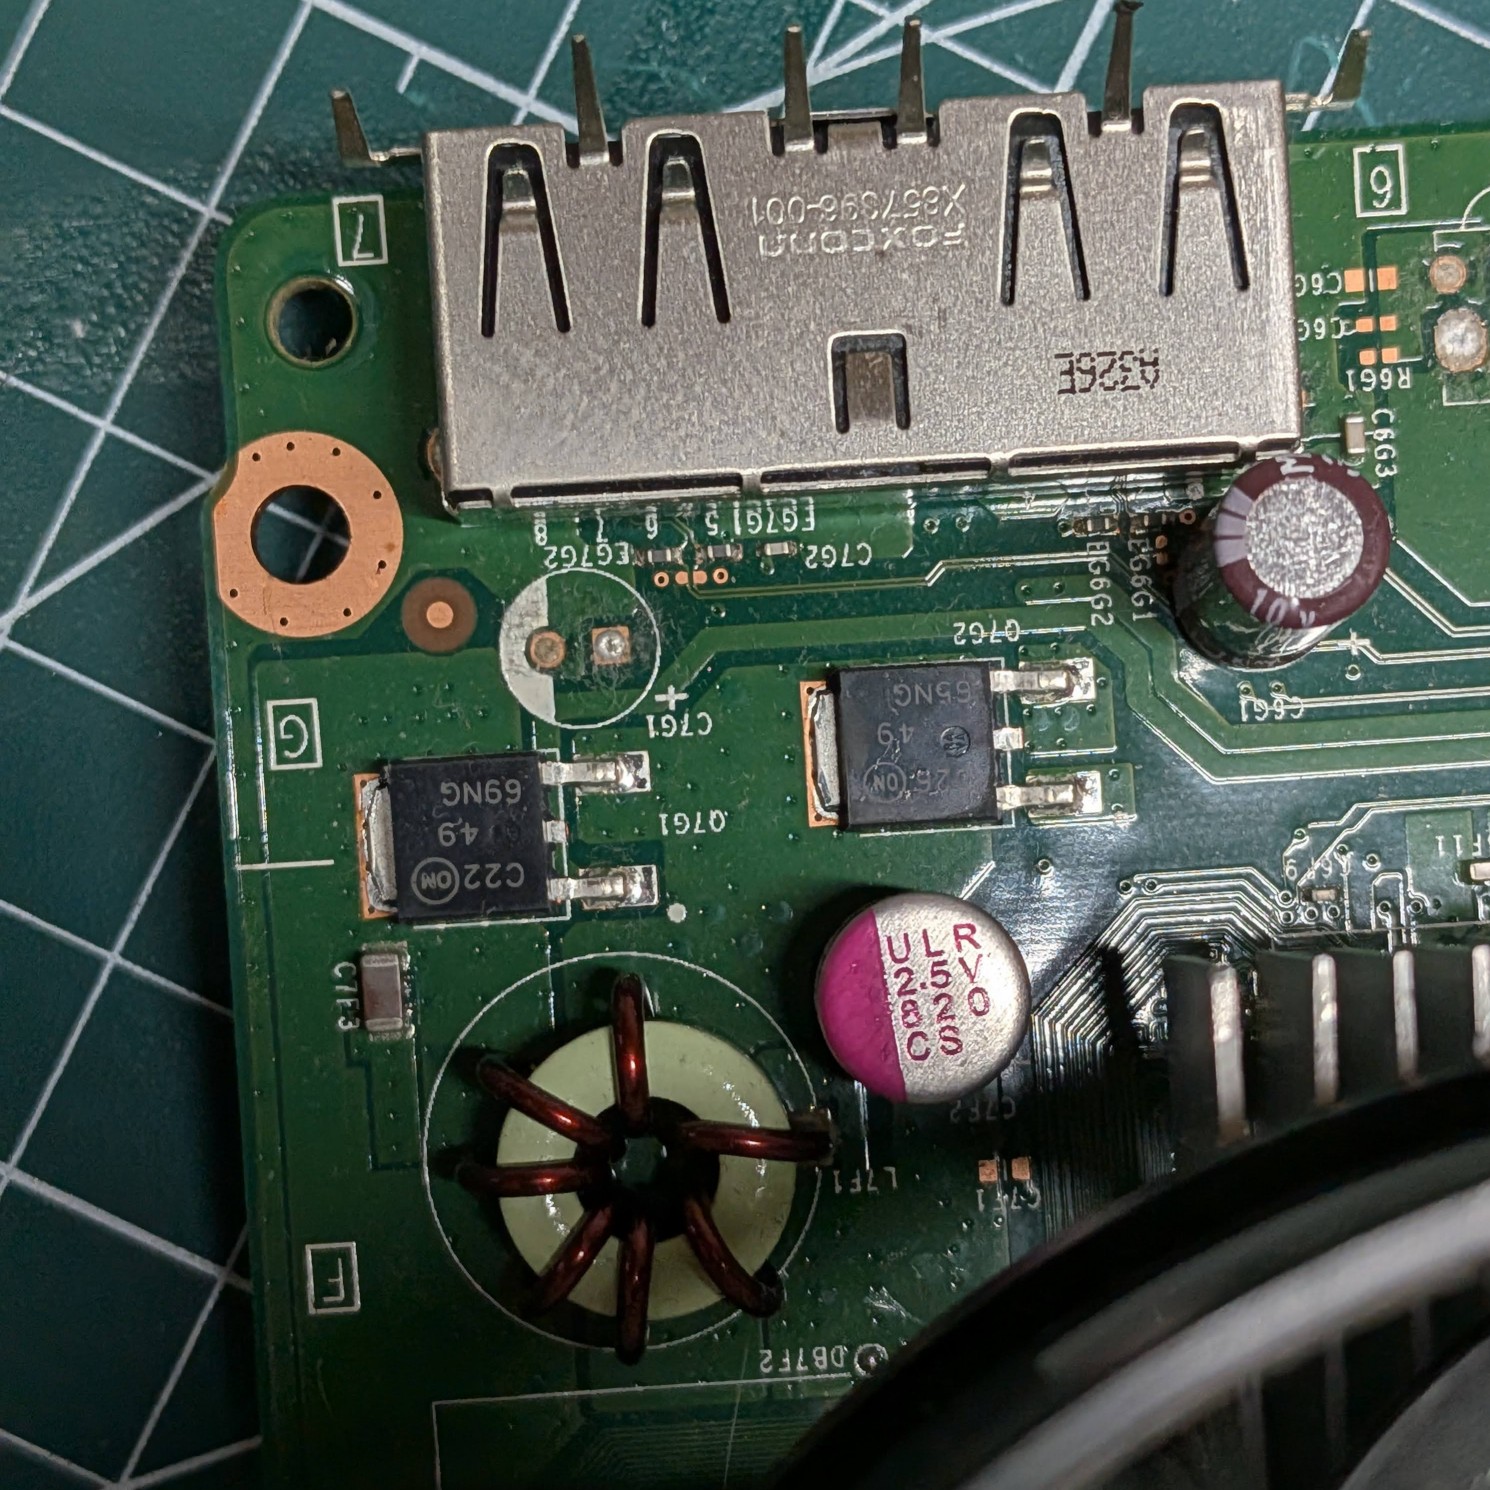
The capacitor used on that spot is a 2.5V 820uF capacitor - at least, that's what I learned after googling what those numbers on it mean. I searched a few online electronics stores and had trouble finding an exact match for it. Utimately AliExpress came through for me here, as it had the most expansive range of capacitor options. I try to avoid buying on AliExpress where possible, since you can never be sure of the quality on offer, but sometimes it is the best option (and cheap too). The capacitors I found looked almost exactly like the one already on the board, and came with plenty of spares on the off-chance I botched one.
(a small aside - the listing had two options, "6x8" and "8x8" - I bought both since I wasn't sure which I needed. As I probably should have guessed, these refer to the physical dimensions of the unit, and the 8x8 was the correct size for this board)
attempting the repair
Capacitor in hand, it was time to attempt the replacement. I've desoldered keyboard switches before, and found it incredibly tedious, since it can be very difficult to remove enough solder for the component to come free. This time, I found myself facing an entirely different problem - my soldering iron wasn't even hot enough to reflow the solder! I suspect that on consumer electronics such as this, they use solder with a higher melting point than my cheap iron could manage. I'd need better quality equipment before I could proceed.
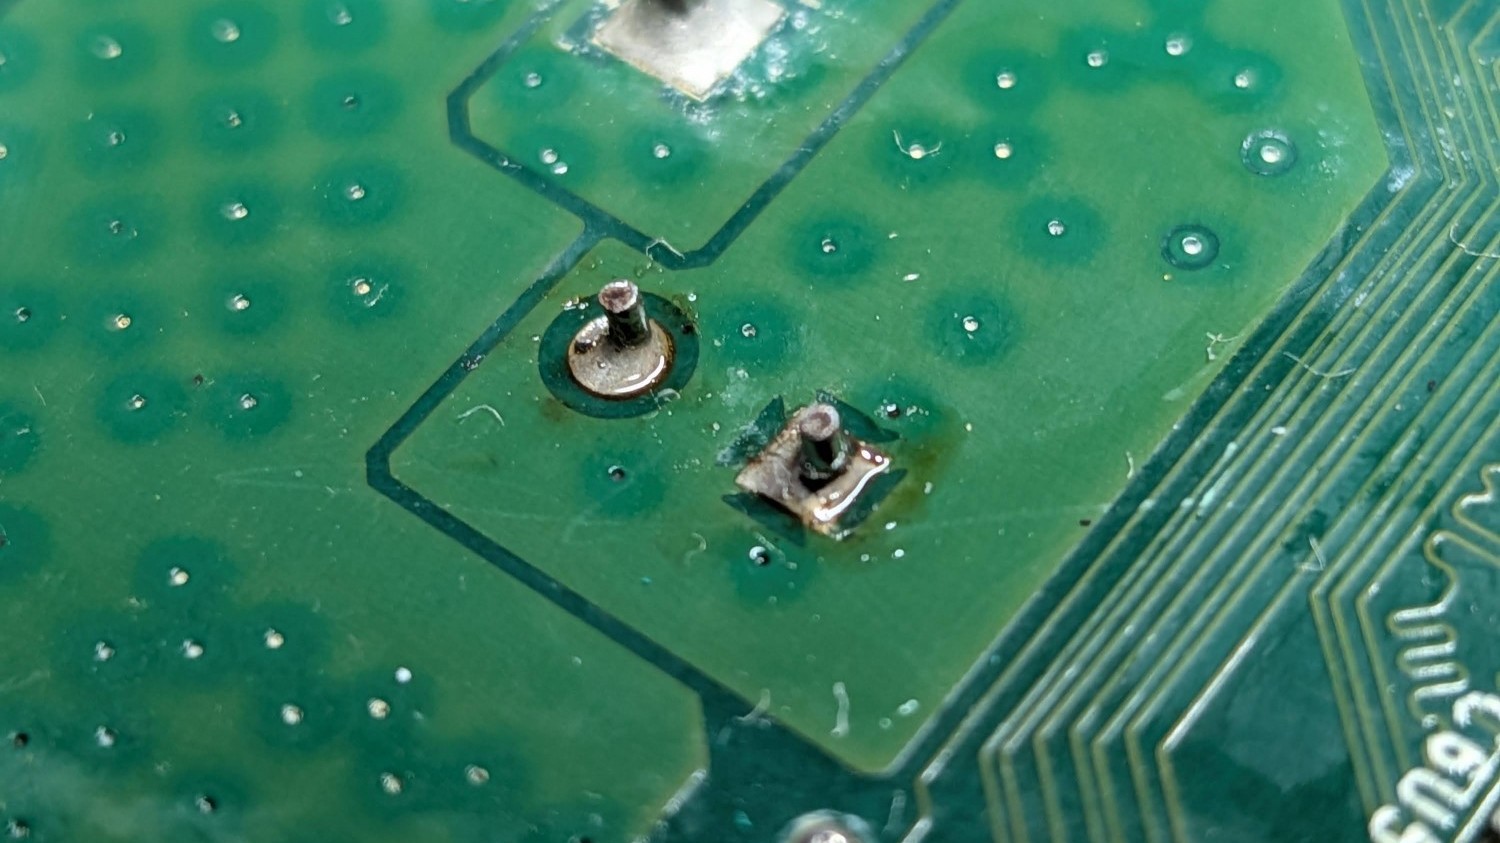
I really didn't want to purchase a more expensive soldering iron just for this job, so I pursued a backup plan. The company I work for has a dedicated hardware team, as well as a lab with a ton of expensive equipment capable of much more than a simple desolder job. I asked them if I could make use of it, and one of them offered to give me a hand with it - probably for the best since I wouldn't want to fumble their expensive tools! So I took the board into work, and with my coworker wielding the soldering iron, got it replaced in a matter of minutes. It was kind of a two-person job actually - he heated up both contact points on the underside while I pried it free with tweezers. Sometimes you really do just need extra hands! Soldering in the replacement was straight-forward too.
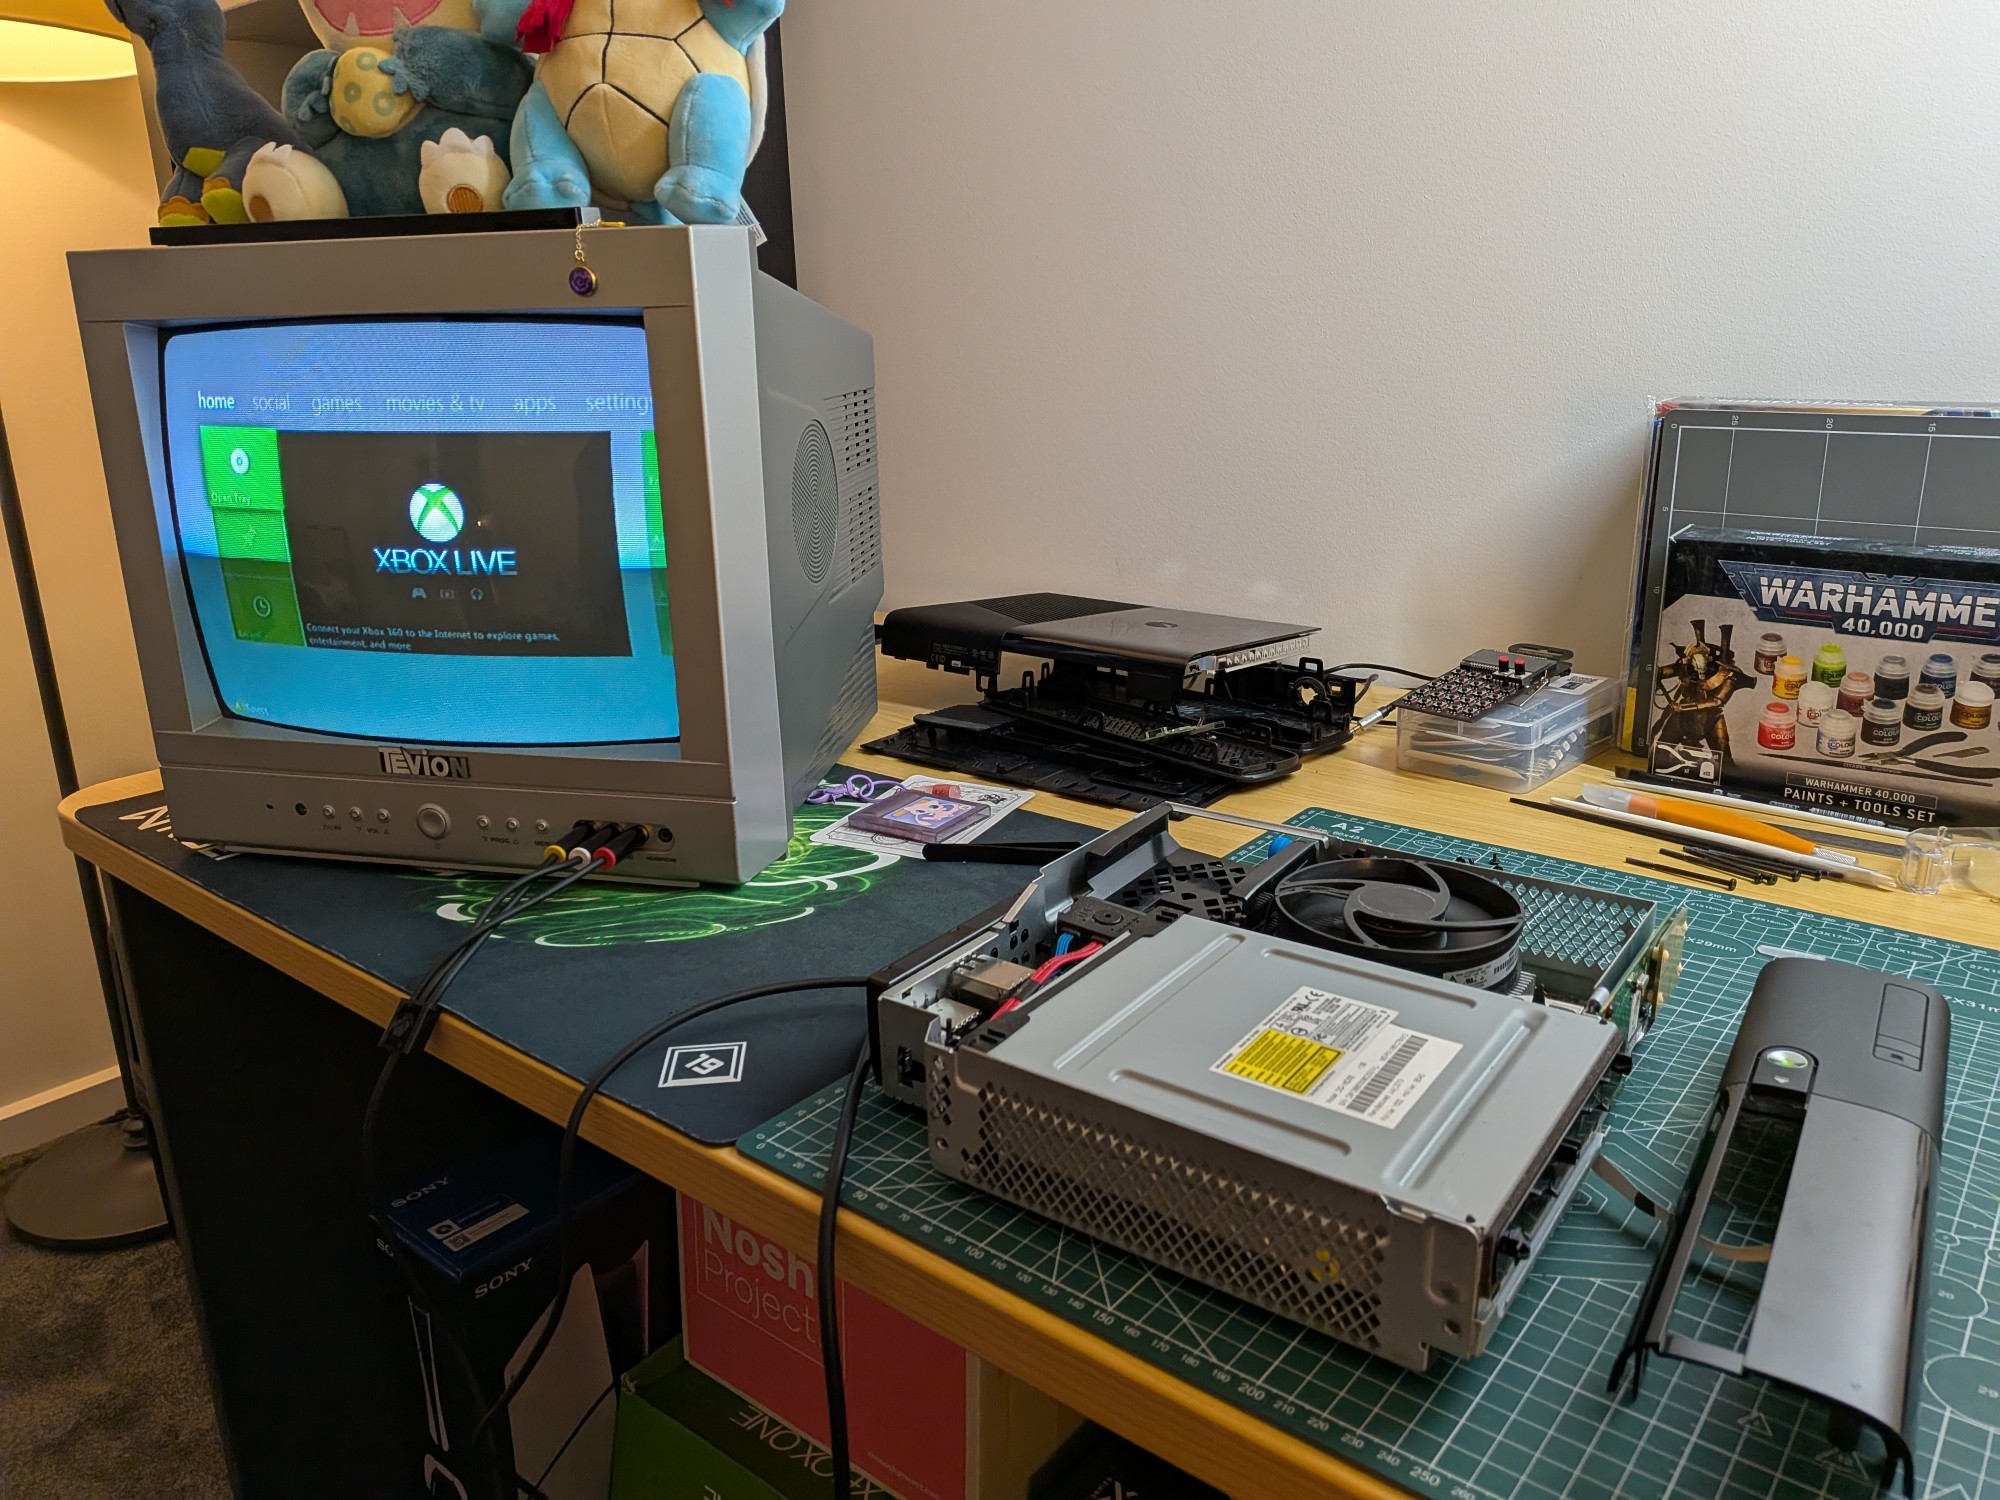
I took the board right back to my desk to give it a quick test, and it was showing signs of life! Plugged into a monitor, it even went through the full boot-up sequence and showed the login screen, which was very promising. Feeling a lot more confident now, all that was left was to take it home, re-assemble all the original parts, and give it a proper test. 🙂
final re-assembly + testing
The re-assembly process is not terribly noteworthy, but I made to sure to test the console at various points while putting it back together. If I did mess anything up, I didn't want to find out only after I'd snapped the casing back on. 😅 I think it's also very satisfying to see the console spring to life while only half-assembled. Seeing all the components and their workings laid bare, it really makes you appreciate the technical wizardry that is required for these things to function in the first place.
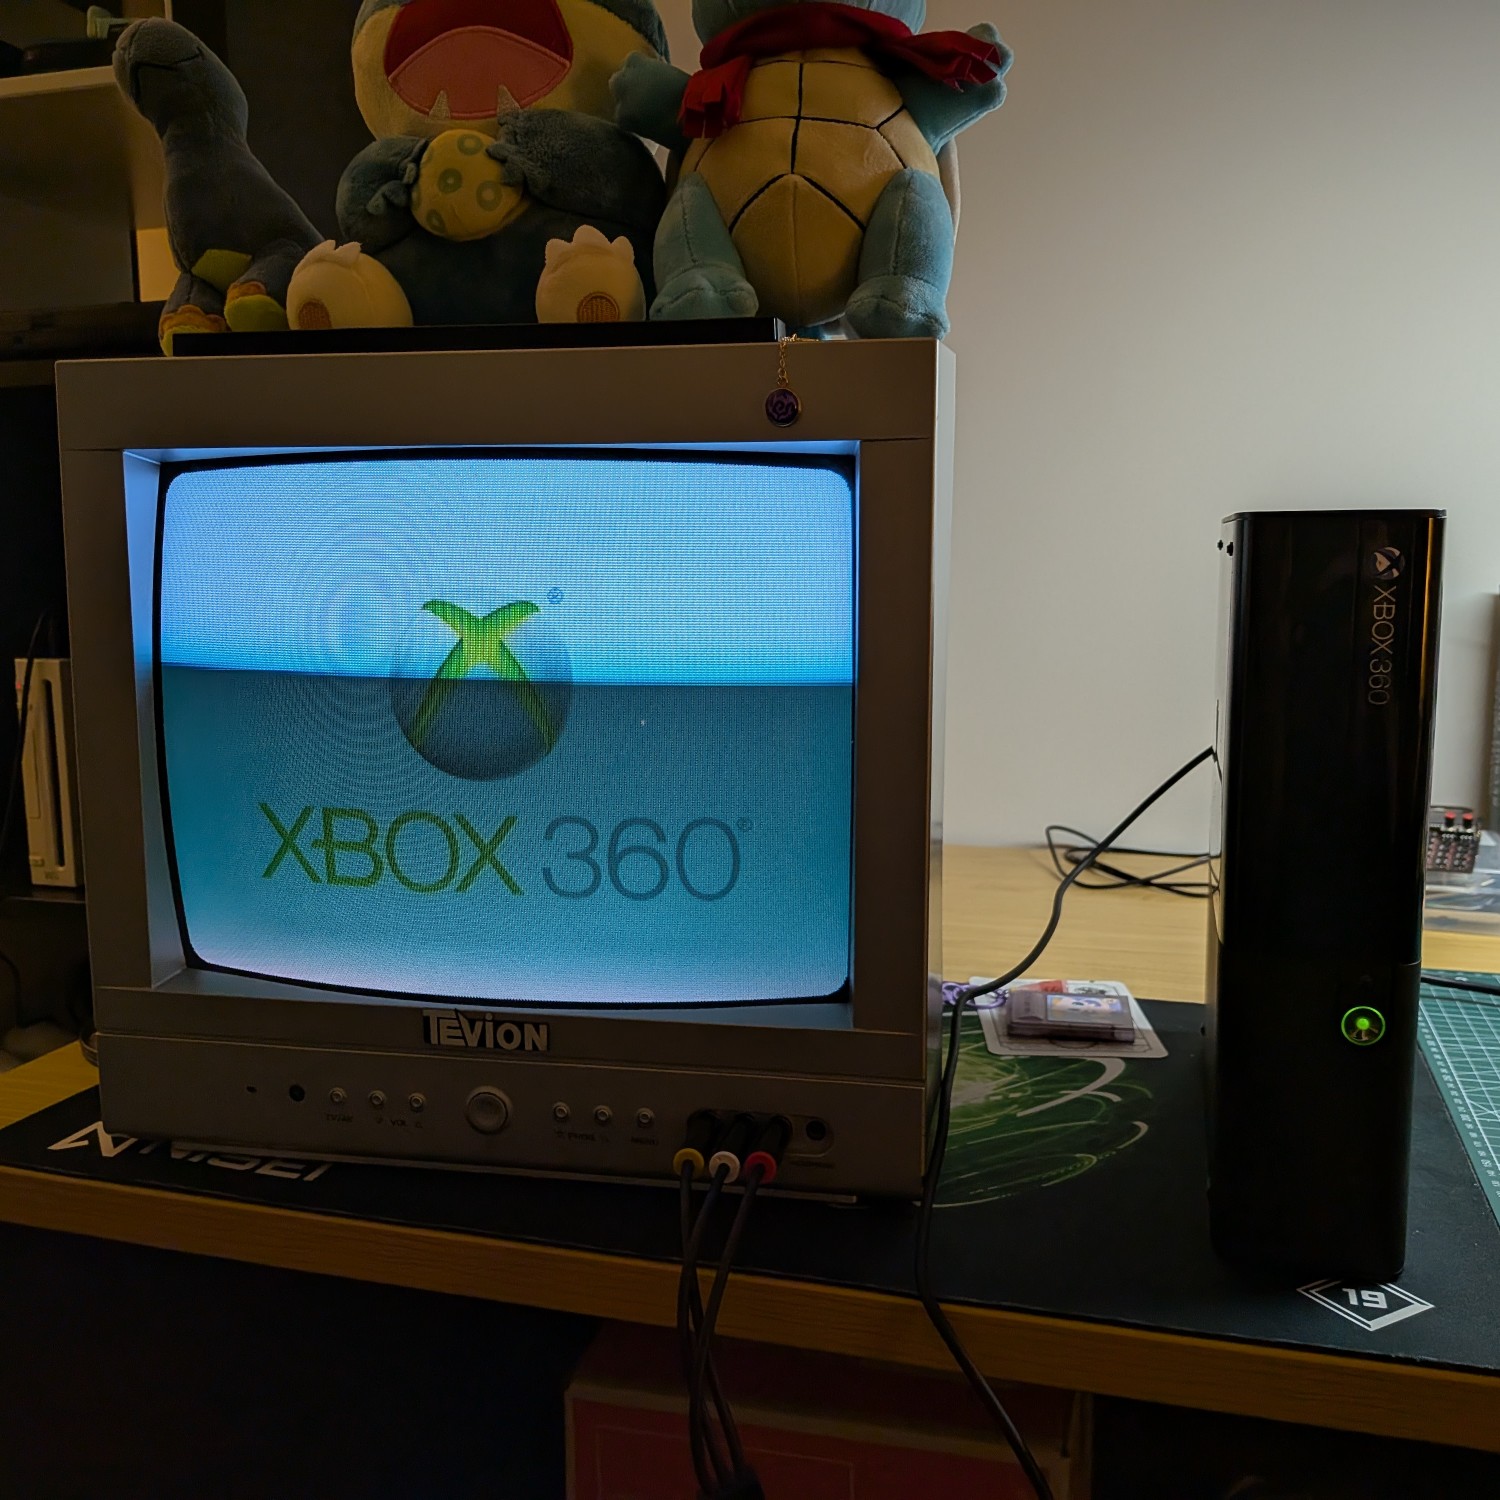
Eventually, I had everything back where it should be, and could give the console a full test that wifi and hard-drive etc. were all working. Everything went off without a hitch! It was fun pulling up all my old profile data too after about ten years of not touching the console. Everything was right as I left it, even my little avatar that I modeled after Trent from Daria 😛
Although I was happy to be able to put my 360 to use again, I was also just really relieved to know that it wasn't going to waste due to some small technical fault. There's enough e-waste out there as it is, I really hate it when things that could have plenty of life left in them just get left for dead!